Freezer Bag Cooking Benefits & Basics
It feels so good to be out in nature, doesn’t it? The sights, the sounds… or the stillness… time with friends, or time alone… that’s what we love about getting outdoors, right? But what about cooking in the outdoors? How do we make tasty meals that can give us the energy we need without being too much of a hassle or time consumer? In addition to getting on the trail, I love to cook and eat! Meals and snacks are always an important part of my trips. Food helps keeps us warm, energized and able to make smart decisions. Good food is an essential part of any adventure trip.
Over the years I’ve experimented with a variety of food planning and preparation methods for my trips. One of my favorite methods of outdoor cooking is called freezer bag cooking. If you’ve been looking for a simple food preparation method to take the hassle out of cooking, but still gives you with warm food for your belly, you’re going to love freezer bag cooking. It is a simple way to prepare filling and lightweight food for any type of outdoor adventure. Anyone can use this method, too! All you have to is boil water to make your meal. Below you’ll find all the basics you’ll need to get you started as a freezer bag chef!
Benefits of freezer bag cooking
It’s Simple…
Freezer bag cooking has a lot of benefits! Overall it is very simple. When you get ready to eat, you simply need to boil water. There is little prep or clean up required at meal time. All the work (which is minimal) can be done in your home kitchen. Plus ingredients can be purchased online, at your local store or dehydrated yourself.

It’s Lightweight…
This method is a favorite among backpackers, especially ultralight backpackers, such as my husband. The required supplies are lightweight and squishable, making them easy to pack without taking up a lot of space or weight in your pack . You just need an insulated cloth cozy, a small stove with fuel and a small pot to boil water.
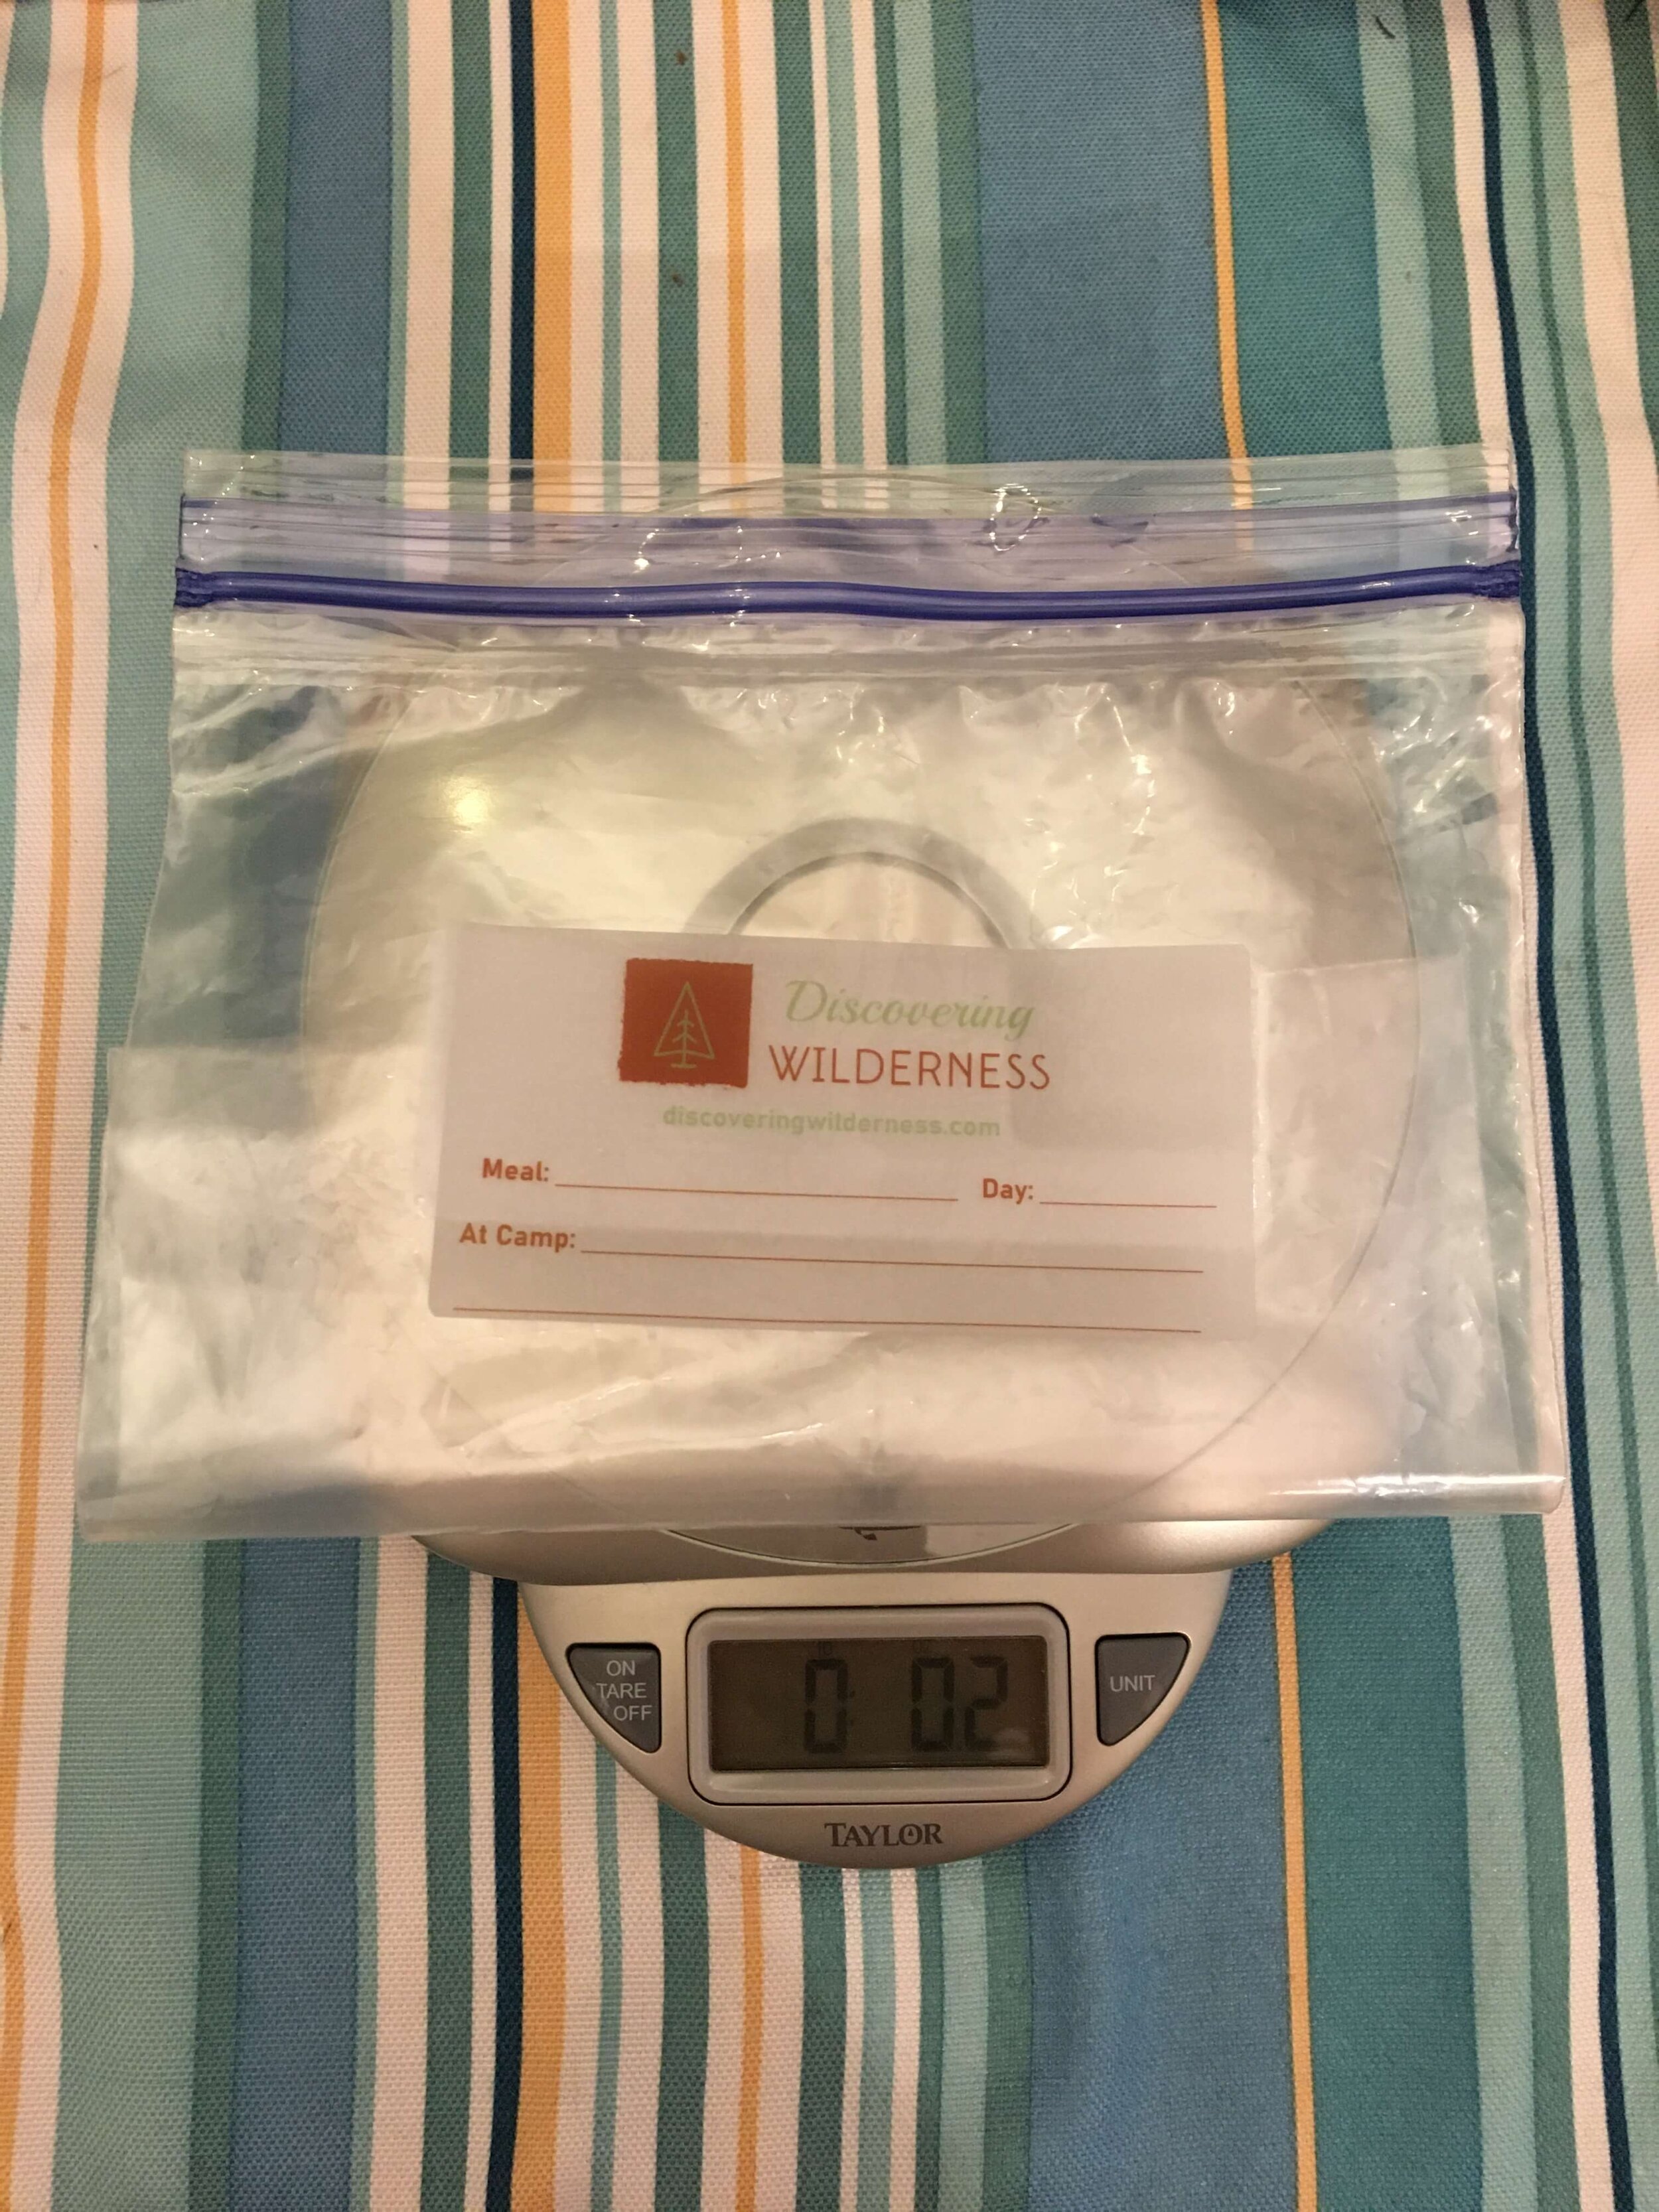
One apple weighs about 7 oz before dehydrated, and about 1 oz after most of the water is removed. Your back will thank you!
The food is even lightweight because it is dehydrated. Water is heavy, we all know that, so even when it is in our food, it adds a bit of weight to our pack. Carrying dehydrated food is a lighter form of food. For example apples are 84% water. Let’s grab one of the apples out of my fruit bowl and see what it weighs. My Costco fuji apple weighs in today at 7 ounces, which means about 5.9 ounces of that apple is water. Once dehydrated, most of that water weight will be gone, making the meals I pack around less of a load on my back. I’ve found this post on dehydration weight testing from Healthy Canning to be a really helpful reference.
It frees up time…
This method also lets you multitask while your food cooks. The way it frees up time during a trip is by far one of my favorite benefits to freezer bag cooking. Many of my trips are just for a weekend, taking out after work on Friday and getting in to camp at dusk. With little light I want to move quickly to get camp set up, but I also want to eat before it gets too late or I get too hangry – yes that totally happens – aka a bit angry due to being too hungry! Freezer bag cooking lets me set up camp while my meal cooks. It is a win-win proposition for sure! I get a warm meal in my belly before bed, and I get my home away from home set up while my meal “cooks”.
And it’s fun!
I also love this method because it is a fun and unique way to cook. Cozies come in a variety of fun patterns, letting you customize your cook set. Freezer bag cooking reminds me of childhood when I got those cool little pills that when soaked in water would expand into fun object. (Not part of your childhood? Its not too late – just search for “water growing toys” online and you’ll find a bit of my past.) Hot water can do amazing things and this method harnesses that power for us.
The freezer bag method
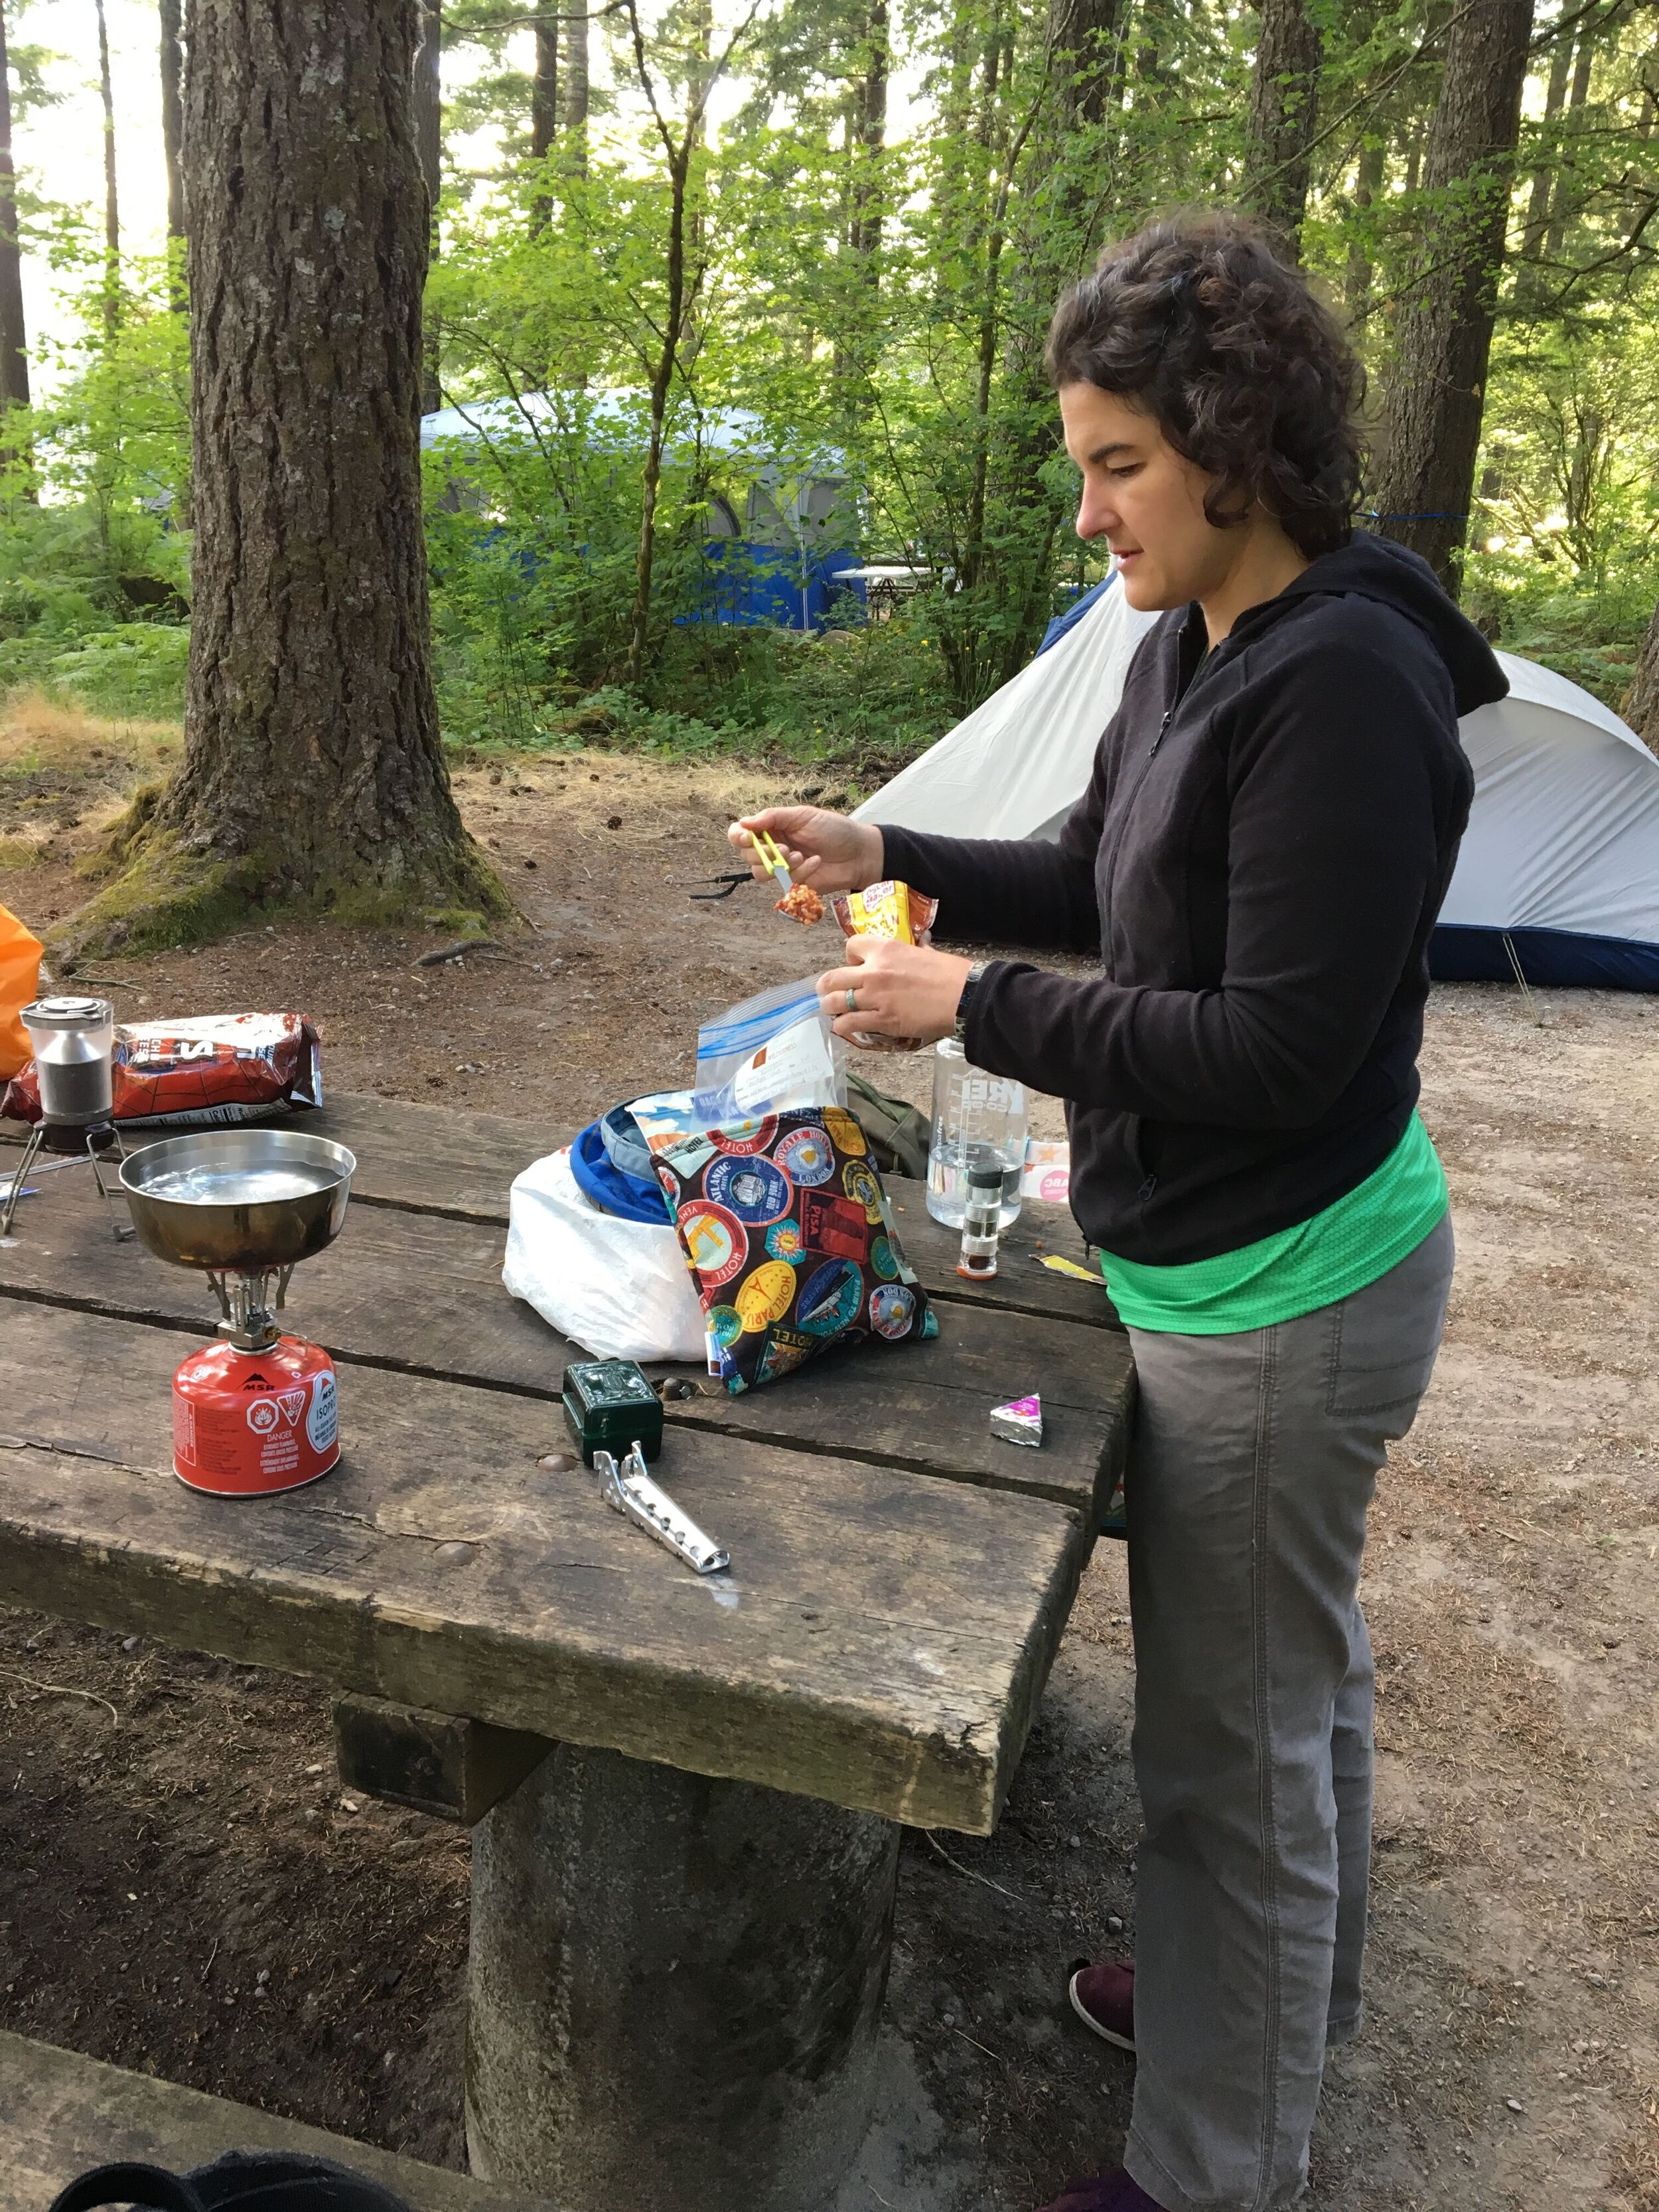
Freezer bag cooking is aptly named. The method includes placing all, or almost all, needed dehydrated ingredients into a single quart sized freezer bag. Nearly boiling water is poured into the freezer bag at meal time to re-hydrate the food. While the food re-hydrates, the freezer bag is placed in an insulated cloth cozy to retain heat introduced by the boiling water.
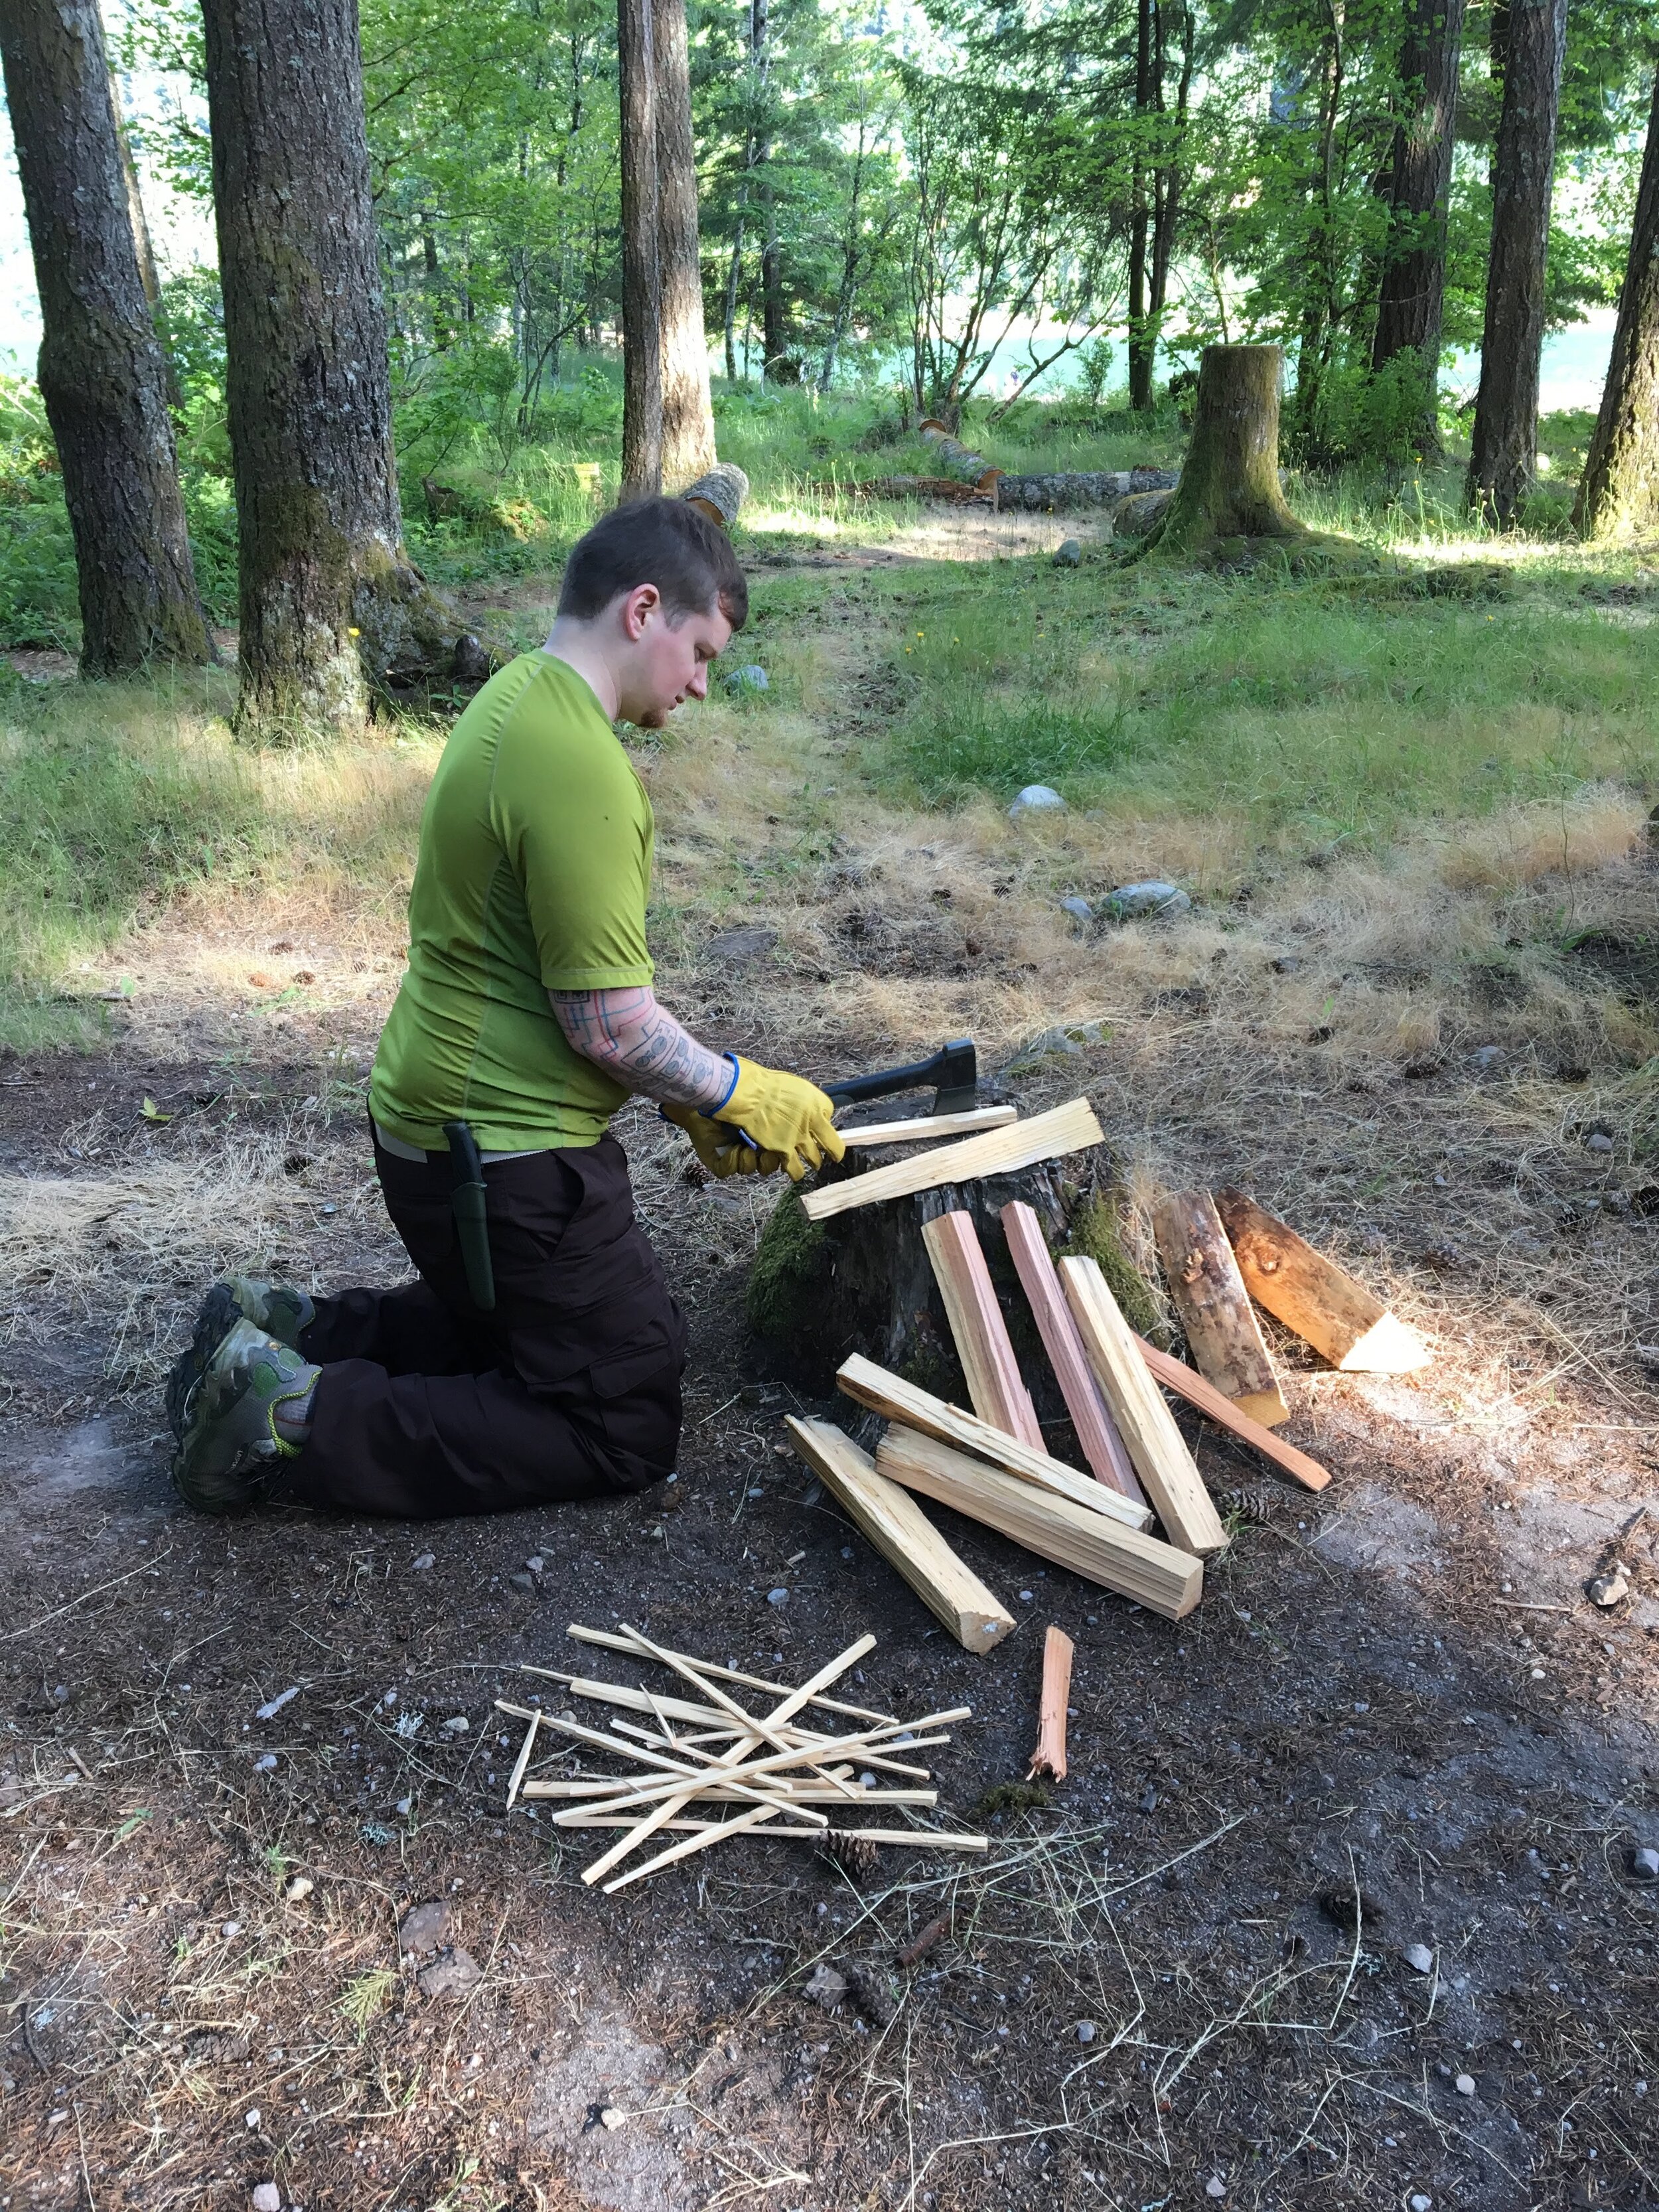
Chopping wood is a great use of “cooking” time!
Most meals will take 10-15 minutes of soaking time to “cook” and re-hydrate and without a cozy a lot of the heat from the water will be lost, meaning your meal will take longer to re-hydrate and be luke-warm by the time its ready to eat. Yuck! After adding in the hot water, you just seal up the freezer bag and place it in the cozy while you wait the allotted time and do whatever else you please. Maybe you set up camp, read a book, chop firewood, enjoy the view or take a quick nap while your food cooks.
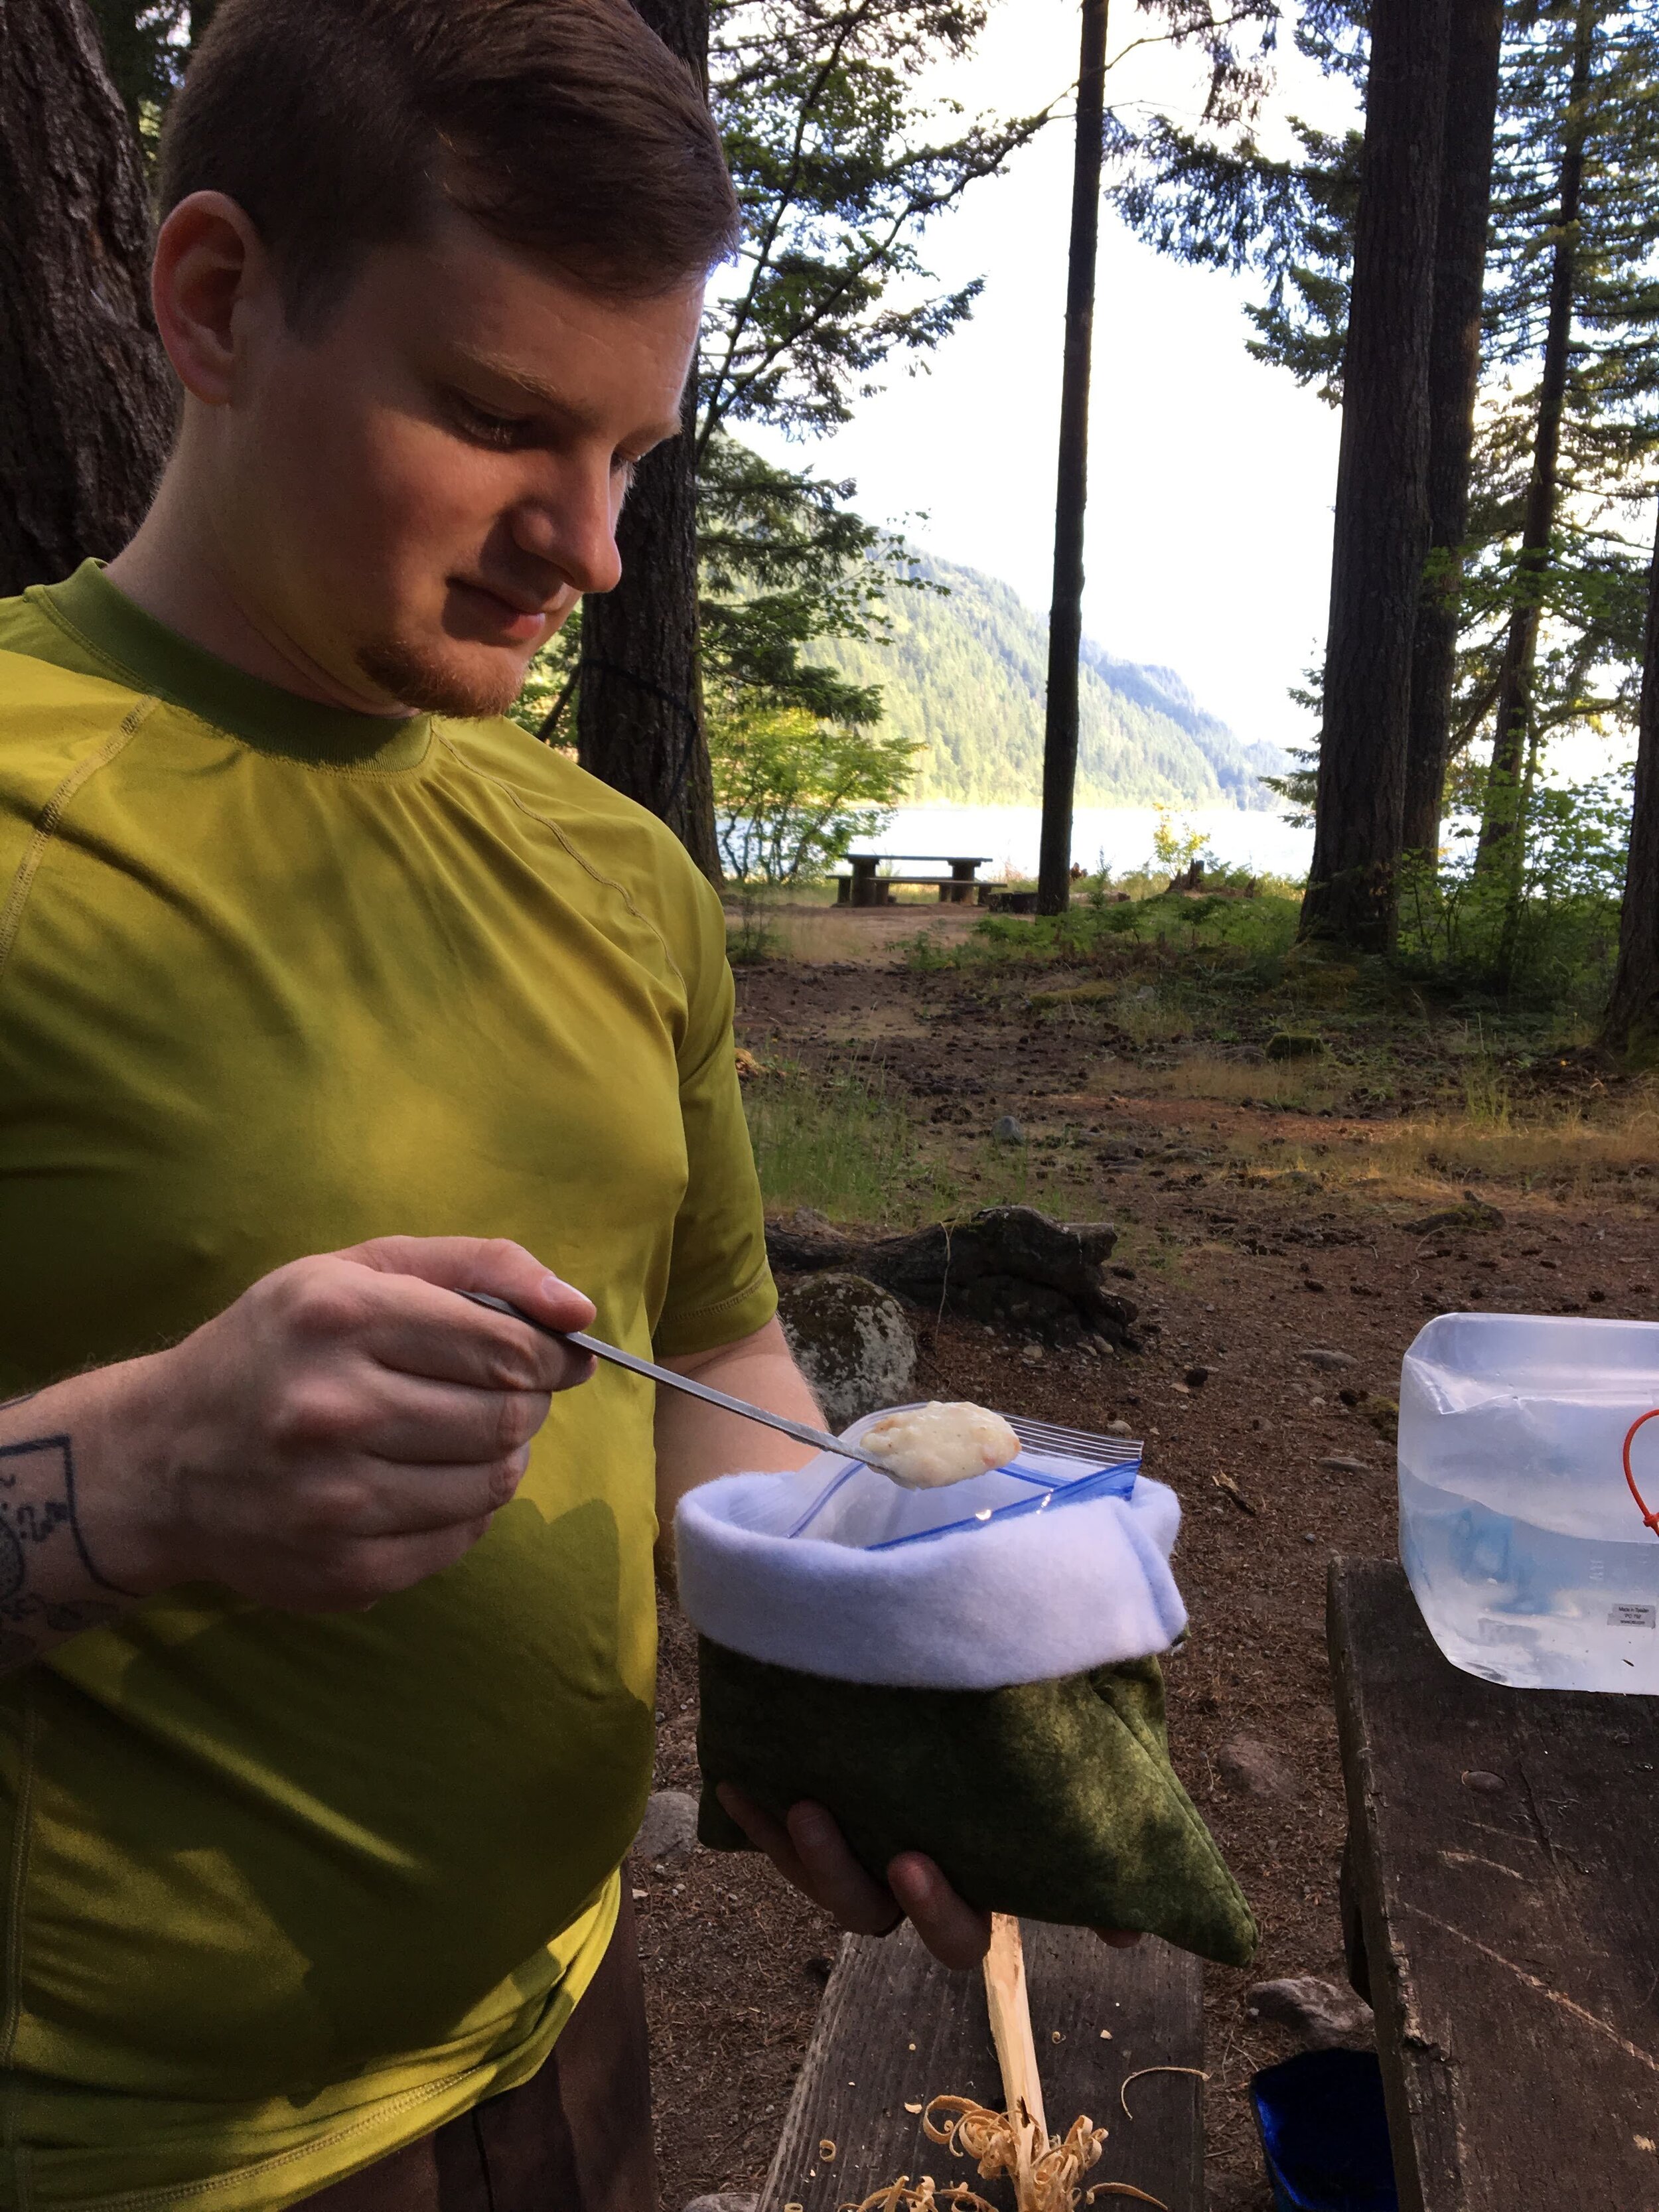
Once the meal is ready you simply eat it out of the bag. I often keep the freezer bag in my cozy to eat. This protects my hands from the hot food and keeps them toasty warm in the winter. I use a long-handled utensil to keep my fingers clean, especially while digging down into the bottom of your bag. Sometimes that’s where the best bites hide so don’t leave them behind! The MSR fold-able spork is my favorite utensil to use. It is light, small in size once folded and the spork lets me stab or break up food better than a spoon, meaning I rarely need to use my knife to eat
Where to find freezer bag cooking recipes
Sarah Kirkconnell has created hundreds of meal recipes that can be cooked with this method. Her website is www.trailcooking.com and she has a great overview/introduction to the method as well. She created many of the recipes we use. We shared three of our favorites in an earlier post, 3 Simple Freezer Bag Recipes.
You can find dehydrated ingredients at some stores in their bulk or emergency preparedness section, including Walmart. They are also easy to find online with a simple Google search. One vendor we suggest is Harmony House. Please note “dried” ingredients may not re-hydrate the same way as “dehydrated” ingredients.
You can also dehydrate your own ingredients, which is something we have started trying. So far we have dehydrated zucchini, apples, pears and mangoes with success. We dehydrate using a 9-row Excalibur dehydrator, graciously on loan to us from a family member. Good dehydrators can be a bit pricey so we want you to know that many items can also be dehydrated in your oven. Although we haven’t tried them all yet, here are 8 easy dehydration methods that work.
Prepackaged meal options
Some people prefer to buy prepackaged dehydrated meals and our cozies work great for using these. These options offer convenience and can save time during your planning and preparation phase. One vendor of gourmet pre-made meals we suggest is Outdoor Pantry. You can find many pre-made meals at Walmart and outdoor stores such as REI as well. Mountain House is a common brand you’ll find at these larger retailers.
Just like other pre-made meals, these prepackaged options may include added ingredients and preservatives. They can also be a bit costly, ranging from about $10-15 per meal for two people. Portions are often hearty, which makes sense if you are hiking all day long.
For those with smaller appetites or simply not requiring as many calories these large prepackaged meals may result in food waste. By making your own freezer bag meals you can know exactly what you are eating, control your portion size and cut your food budget, especially if you buy dehydrated ingredients in bulk (as they are often sold).

Homemade freezer bag meals and store bought dehydrated meals both take advantage of this simple cooking method. Not feeling like a chef? No problem! Just pick up a prepared meal and enjoy with the same simple supplies and steps.
Environmental considerations for freezer bag cooking
Many people are concerned about the impact on the environment with this method, including us. You are using freezer bags so doesn’t that create more trash? Yes and no. Making your own freezer bag meals can reduce packaging waste, which is great while on the trail. A freezer bag can be reused for an additional meal or for collecting trash. We often only use our bags once and then use them to pack out bathroom trash. I know some hikers pack all empty freezer bags back home with them to be refilled for future adventures. As long as the bags aren’t damaged and will hold liquid again, you should be good to go!
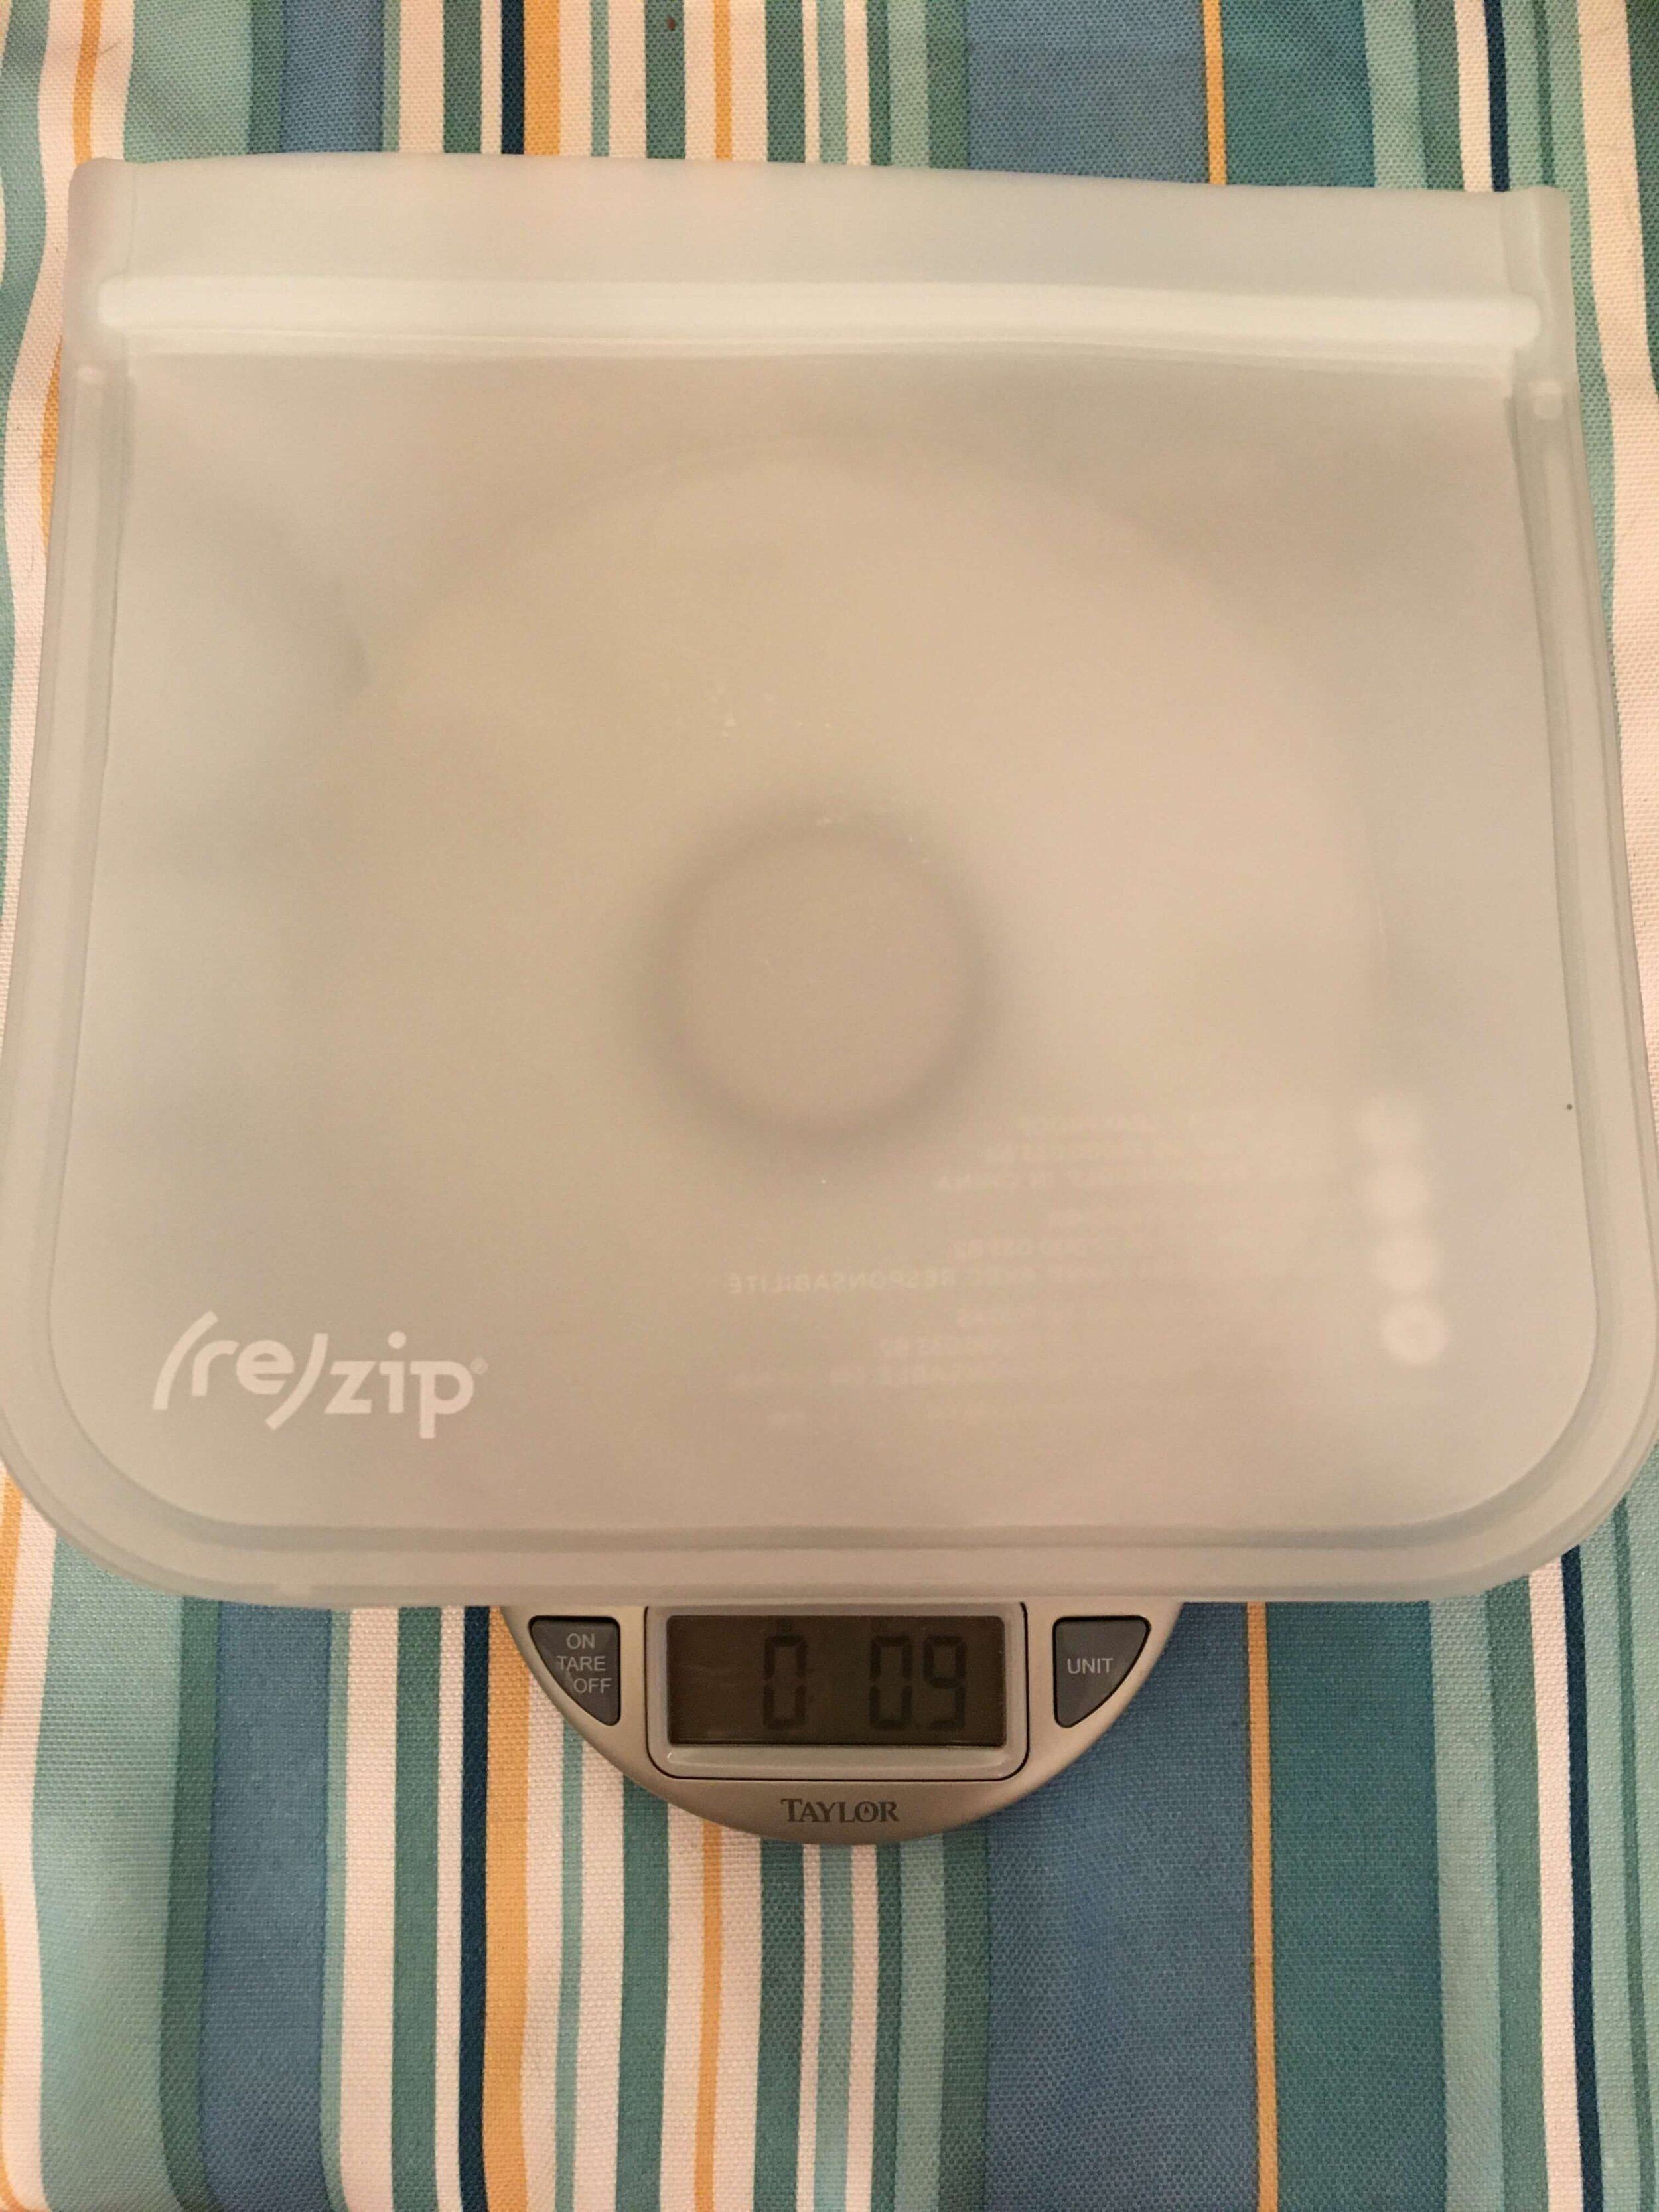
Another option is to replace quart freezer bags with longer lasting food-grade safe silicone bags. A silicone bag should last you years of reusable use, far beyond what any plastic freezer bag could handle. Changing to silicone bags includes a bit of an upfront investment that is well worth it over time! These bags are also heavier than a disposable freezer bag, which is a downside.
We are currently trying out a few different versions of reusable bags to find a set that fits our needs and preferences. Originally we liked the idea of silicone bag made by Honeycomb because of their ability to stand up with food inside. They are the heaviest and bulkiest option though weighing 4.9 ounces each. Re(zip) makes a lighter and simpler bag out of PEVA, weighting 0.9 ounces each. We will be experimenting with these bags this spring and summer in the hopes of finding the right reusable option for our needs. The average freezer bag weighs about 0.2 ounces so you can see the obvious weight difference.

Bon appetit!
Freezer bag cooking is an easy way to prepare meals for any adventure with some great benefits. We are excited to hear about your experiences with freezer bag cooking. We hope you have fun trying something new if this is your first time!
Got recipes you love, suggestions or questions about this approach then just comment below. Thanks for reading! Bon appetit, my friends!